How to Set Up Your First Smart Home: 7 Steps I Actually Used
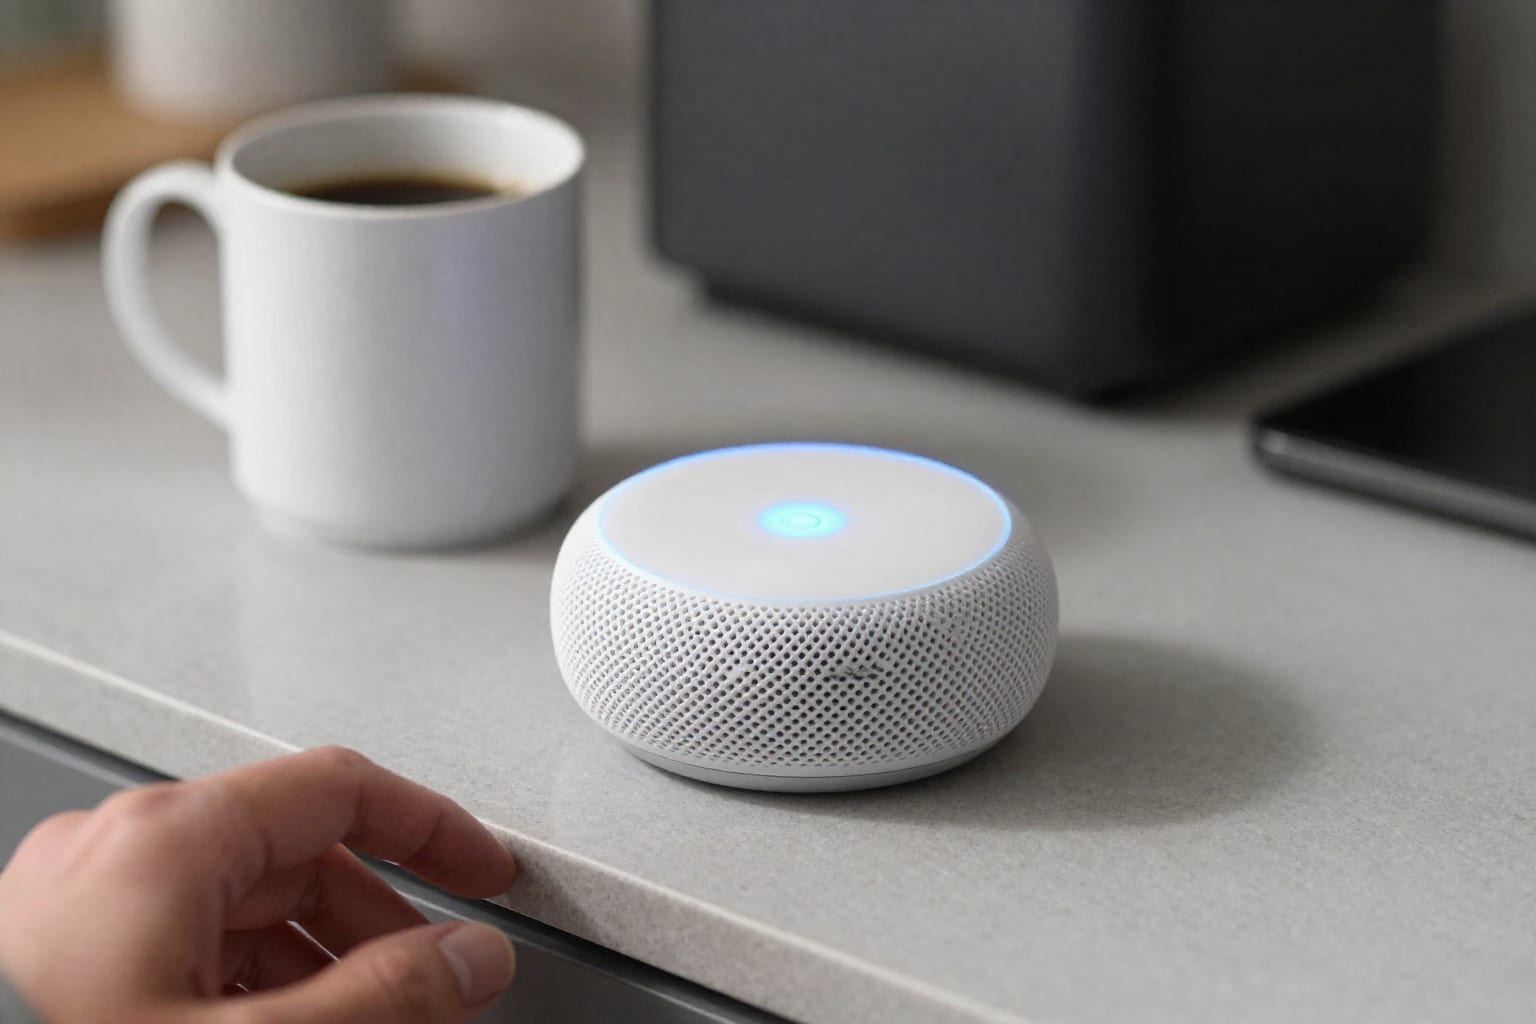
I still remember the afternoon I unboxed my first smart speaker—an Echo Dot I’d bought on a whim—and sat on the living room floor, staring at the tiny fabric cylinder, wondering if I’d just wasted fifty bucks. Three hours later, I’d set up a single smart plug, a lamp, and a voice command that turned the light on when I said “Alexa, good morning.” That moment—where the lamp flickered to life without me moving a finger—was the hook. That’s what this guide is about: the exact seven steps I used to go from zero to a working, useful smart home without losing my mind or my wallet. No fluff, no “you must buy this expensive hub” nonsense. Just what actually worked.
1. Choose Your Smart Home Hub (or Hubless Path)
When I started, every forum post screamed “you need a hub!”—SmartThings, Hubitat, Home Assistant. I almost bought one before I realized most of my planned devices (lights, plugs, a camera) worked over Wi-Fi or Bluetooth. So I skipped the hub. Here’s the honest trade-off: a hub like SmartThings or Hubitat lets you connect Zigbee and Z-Wave devices (which are often more reliable and don’t clog your Wi-Fi), and it gives you local control even if the internet goes down. But it adds cost ($80–$150), complexity, and a learning curve. For a first-time setup, starting hub-free is smarter. Stick with Wi-Fi and Bluetooth devices—brands like Kasa, Wyze, and Philips Hue (their Bluetooth bulbs work without a bridge for basics). You can always add a hub later if you hit a wall with automations or device limits. My rule: if you plan to have fewer than 15 devices and don’t need advanced local-only routines, skip the hub. Save that money for more lights.
2. Start with a Smart Speaker or Display
Your first purchase should be a smart speaker or display—Echo Dot, Nest Mini, or HomePod Mini. I picked an Echo Dot because it was cheap ($29 on sale) and Alexa had the widest device support at the time. This device becomes your voice interface, your hub for routines, and the glue that ties everything else together. Don’t overthink the ecosystem: pick one voice assistant (Alexa, Google Assistant, or Siri) and stick with it for the first year. Mixing assistants later is possible but messy. I set mine up in the kitchen, plugged it in, downloaded the Alexa app, and spent ten minutes connecting it to Wi-Fi and linking my Spotify account. That was it. Now I could say “Alexa, turn on the kitchen light” before I’d even bought a smart light. The speaker alone gave me a taste of the convenience—and the motivation to buy the next device.
3. Add Smart Lights First (Easiest Win)
Smart lights are the gateway drug of home tech. I bought a two-pack of Philips Hue white bulbs ($30) and a single Kasa smart plug ($10). Why lights first? Because they’re instant gratification: screw in a bulb, connect in the app, and you can dim, schedule, or voice-control your room in under ten minutes. I started by putting a Hue bulb in my bedside lamp and a Kasa plug on a living room floor lamp. The first night, I set a schedule for the bedroom light to turn on at 7 a.m. at 20% brightness—a gentle wake-up instead of an alarm. It worked perfectly. The mistake I see beginners make is buying too many different brands at once. Stick with one or two brands for lights (Philips Hue for reliability, Kasa for budget) so you don’t juggle five apps. Pro tip: use the smart plug for a dumb lamp first—it’s cheaper than a smart bulb and gives you the same voice control for any existing fixture.
4. Secure Your Network for Smart Devices
I almost skipped this step. Then I read about a neighbor whose Wi-Fi camera got hacked because it was on the same network as his laptop. That scared me straight. Here’s what I did: I logged into my router’s admin panel (usually 192.168.1.1 or an app), enabled the guest network, and named it something like “IoT-Devices.” I set it to 2.4GHz only—most smart devices don’t support 5GHz, and mixing bands causes dropouts. Then I connected every smart device (speakers, lights, plugs, camera) to that guest network, keeping my phones, laptops, and TV on the main network. This isolates your IoT devices so if one gets compromised, it can’t jump to your computer. It took ten minutes and zero cost. Also: change your router’s default admin password (not just the Wi-Fi password) and enable automatic firmware updates. If you’re on a mesh system like Eero or Google Nest Wifi, it’s even easier—they have a “guest network” toggle built in. Do this before you add more than three devices, or you’ll have to reconnect everything later. Trust me, I had to.
5. Automate Your First Routine
This is where the smart home clicks from “cool gadget” to “actually helpful.” I created a “Good Night” routine in the Alexa app: at 10:30 p.m., the living room light turned off, the bedroom light dimmed to 10%, and the speaker played ocean sounds for 30 minutes. Setup took three minutes: open the app, tap “Routines,” tap the plus icon, name it, add a trigger (“voice” or “schedule”), then add actions. The first time I said “Alexa, good night” and the house responded—lights, sounds, all in one command—I laughed out loud. It felt like magic, but it was just a few clicks. Start with one routine: either a morning routine that turns on lights and reads the weather, or a bedtime one that shuts things down. The key is to keep it simple. Don’t try to automate your entire home at once. One routine, three actions max, for the first week. Then add a second routine. I now have five routines, but I built them over six months.
6. Add a Security Camera or Video Doorbell
After lights and routines, I felt ready for something that gave me peace of mind. I bought a Wyze Cam v3 ($35) and mounted it on the front porch, pointed at the door. The setup was dead simple: plug it in, scan the QR code in the app, set motion zones (draw a box on the camera’s view so it only alerts when someone steps onto the porch, not when a car drives by). I also turned off audio recording for privacy—you can do that in the settings. The camera streams to my phone, records clips to a microSD card (no monthly fee), and sends a notification if it detects motion. It’s not fancy, but it works. If you want a doorbell, the Eufy Video Doorbell (battery or wired) is a solid choice—no subscription needed, and it integrates with Alexa or Google. One warning: don’t point a camera into a neighbor’s window or a public sidewalk. Keep it aimed at your own property. And if you’re renting, use adhesive mounts or a door-hanger bracket—no drilling.
7. Expand Gradually: Sensors, Thermostats, and Locks
By month three, I had lights, a routine, and a camera. I wasn’t done, but I was comfortable. Then I added a smart thermostat—an ecobee3 Lite ($170 on sale) that replaced my old programmable one. Installation took 20 minutes (turn off power, label wires, connect to the base, pair with the app). It saved me roughly $15 a month on heating and cooling because it learned my schedule and turned off when I left. Next came a smart lock: a Schlage Encode Plus ($280, but you can find cheaper like Wyze Lock for $100). I used it for keyless entry—no more hiding a spare key under the mat. The trick to expanding is to add one device per month, integrate it into your existing routines, and test it for a week before buying the next. I now have a sensor on the front door that triggers a “Welcome Home” routine (lights on, thermostat adjusts, camera disarms). But I built that over a year. Start slow. The smart home is a marathon, not a sprint.
Practical Takeaway
If you’re setting up your first smart home from scratch, here’s my honest, distilled advice: buy a smart speaker first, add two smart lights or plugs, secure your network with a guest network, create one routine, then add a camera. Skip the hub, skip the expensive thermostat, and skip the lock until you’ve lived with the basics for a month. The goal isn’t to automate everything—it’s to automate the things that annoy you. For me, that was turning off the living room light from bed. For you, it might be unlocking the door without keys. Start there. You’ll know what to add next because you’ll feel the gap. And when you do, you’ll already have the foundation to plug it in without starting over.